ARCTIC
⏳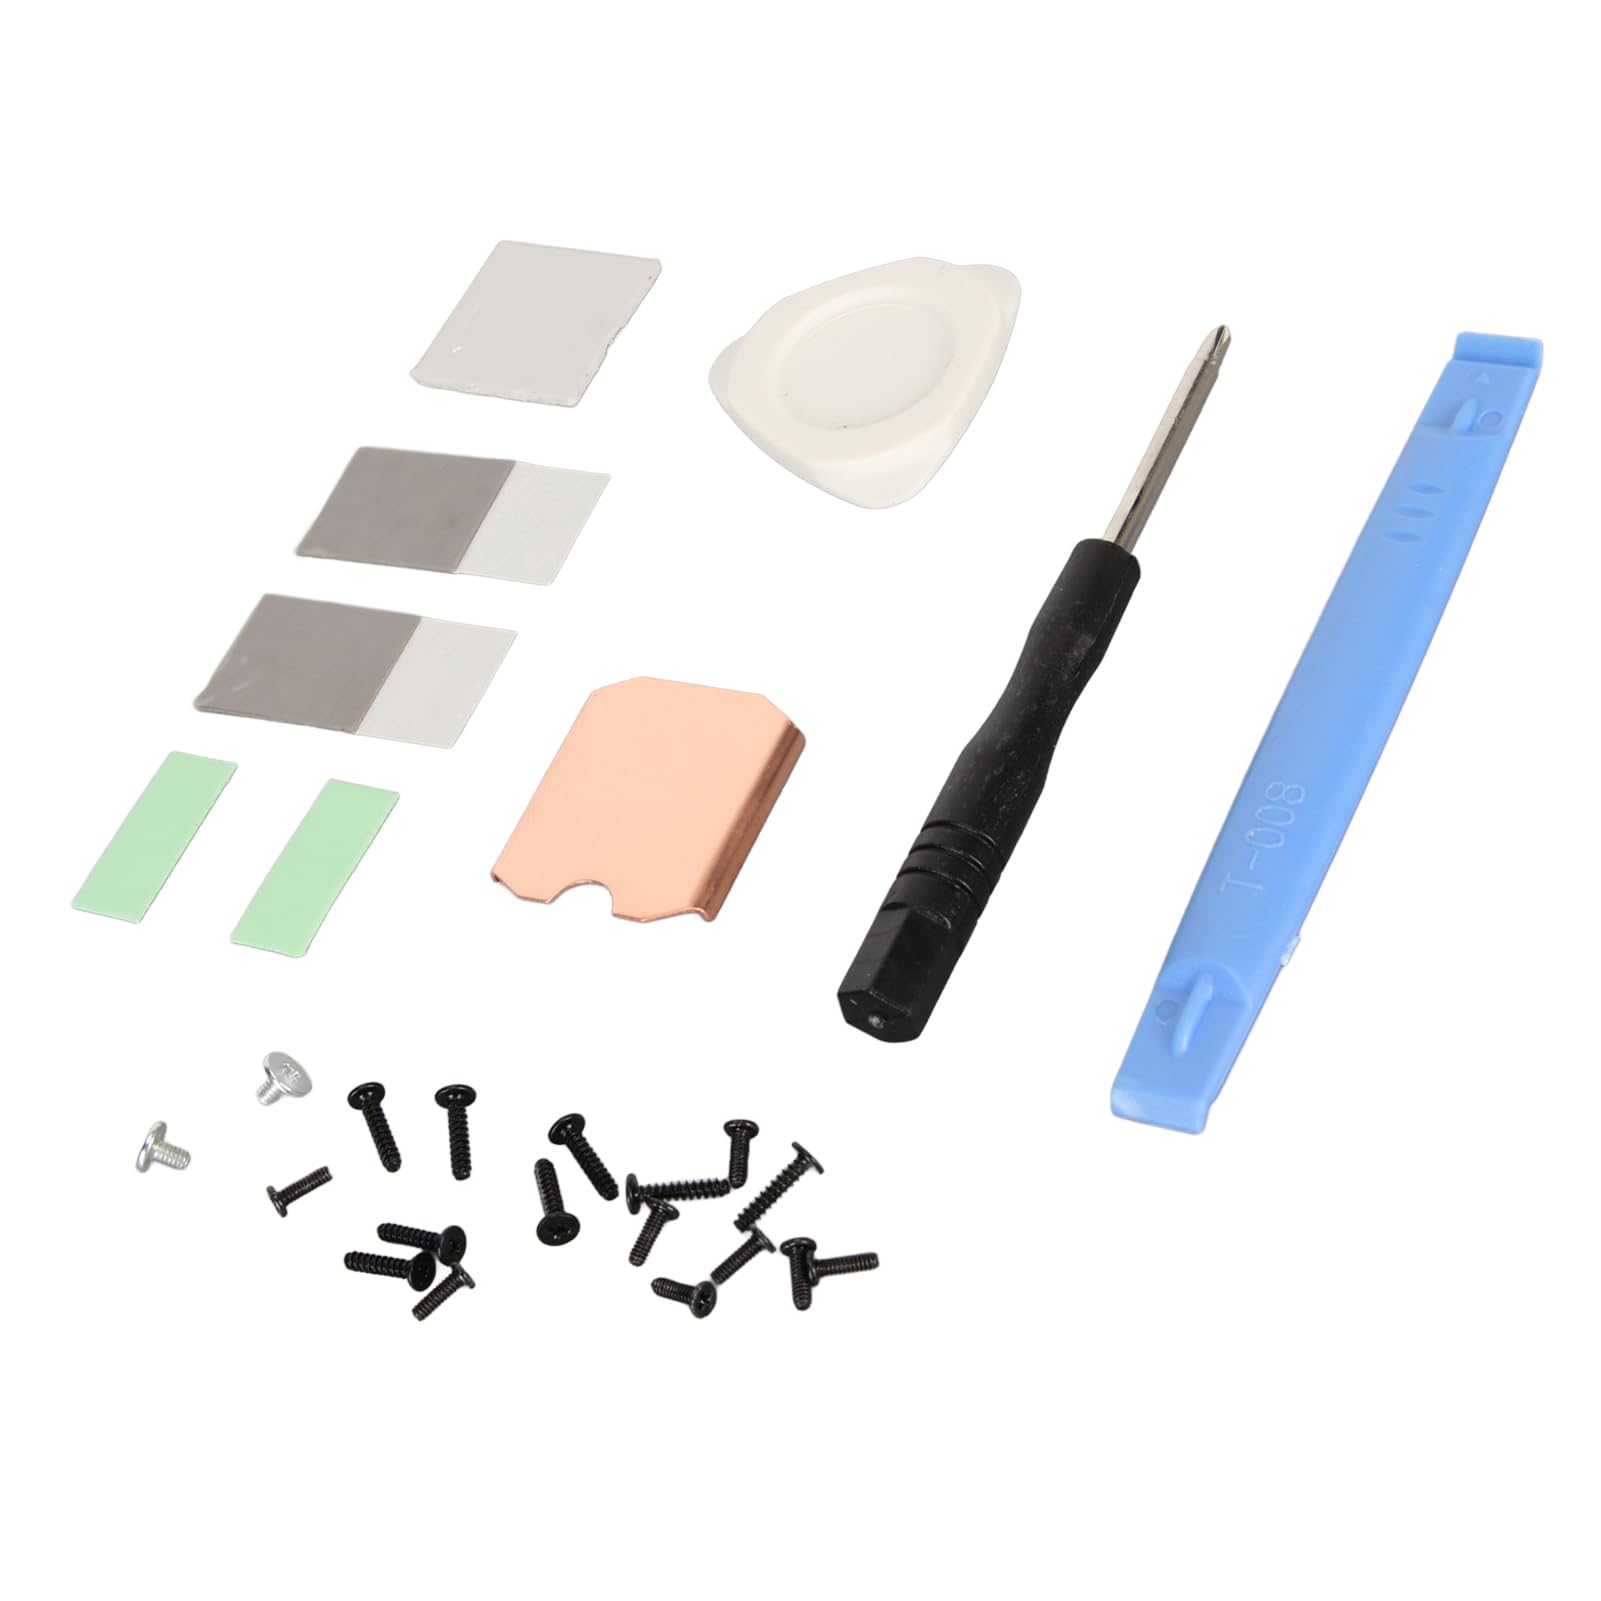
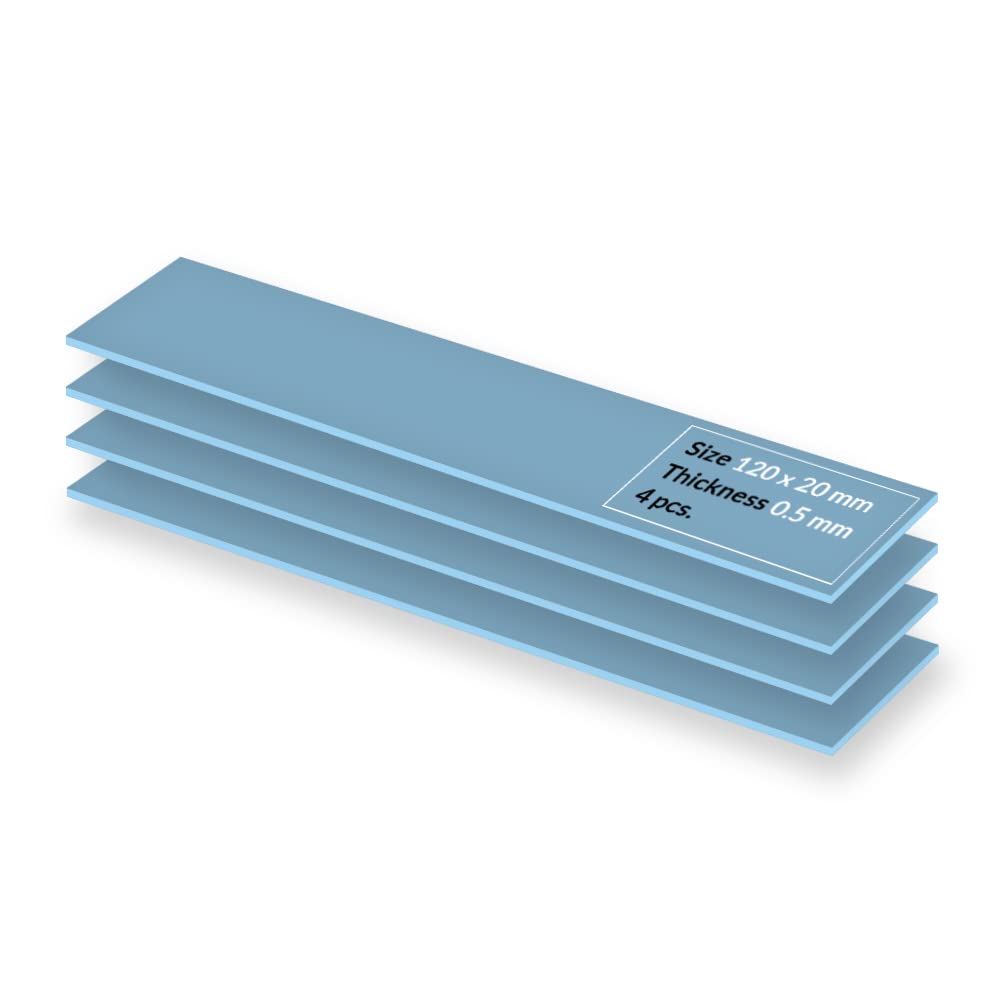
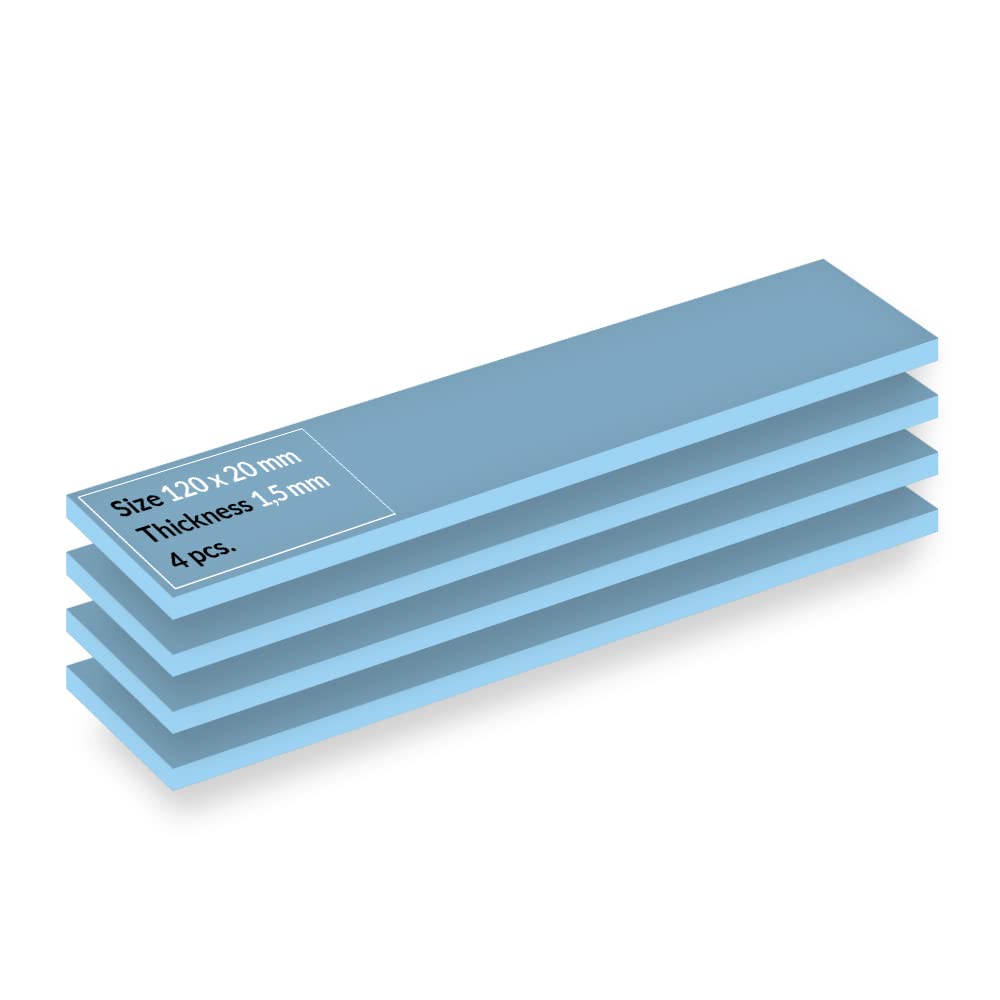
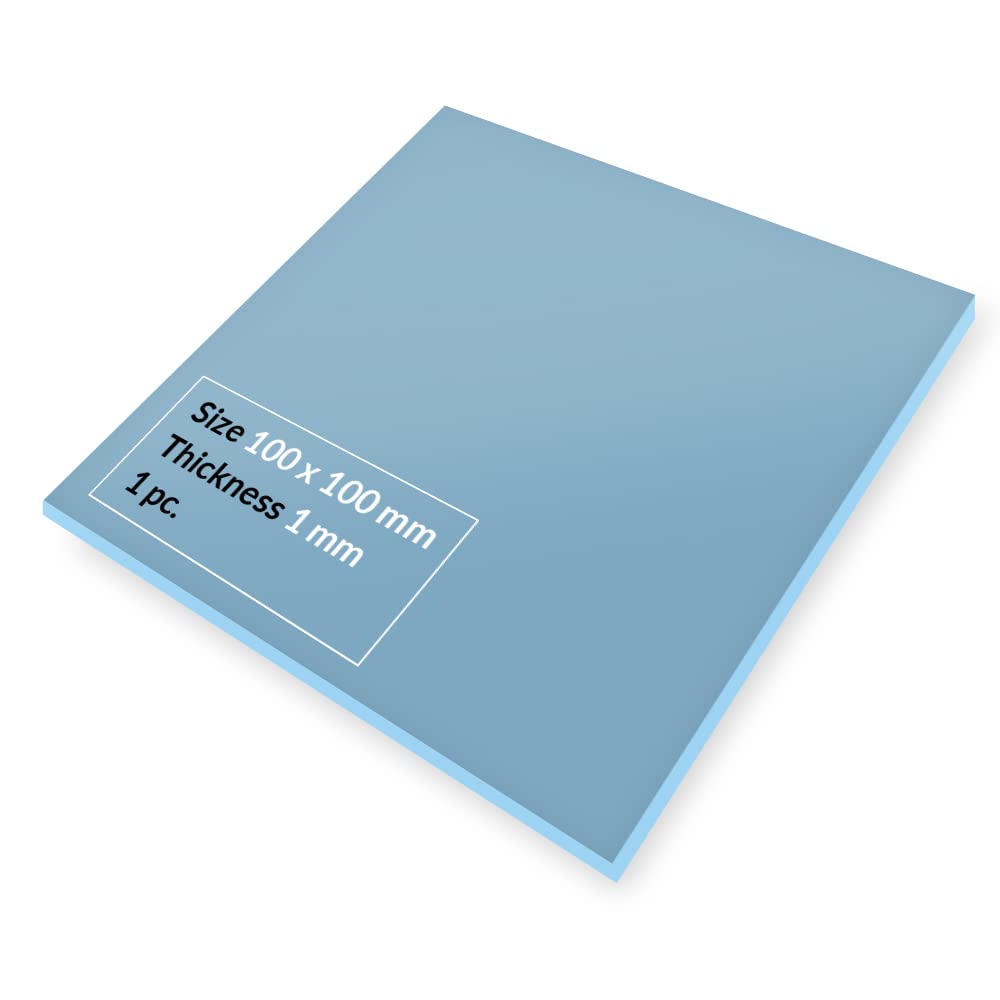
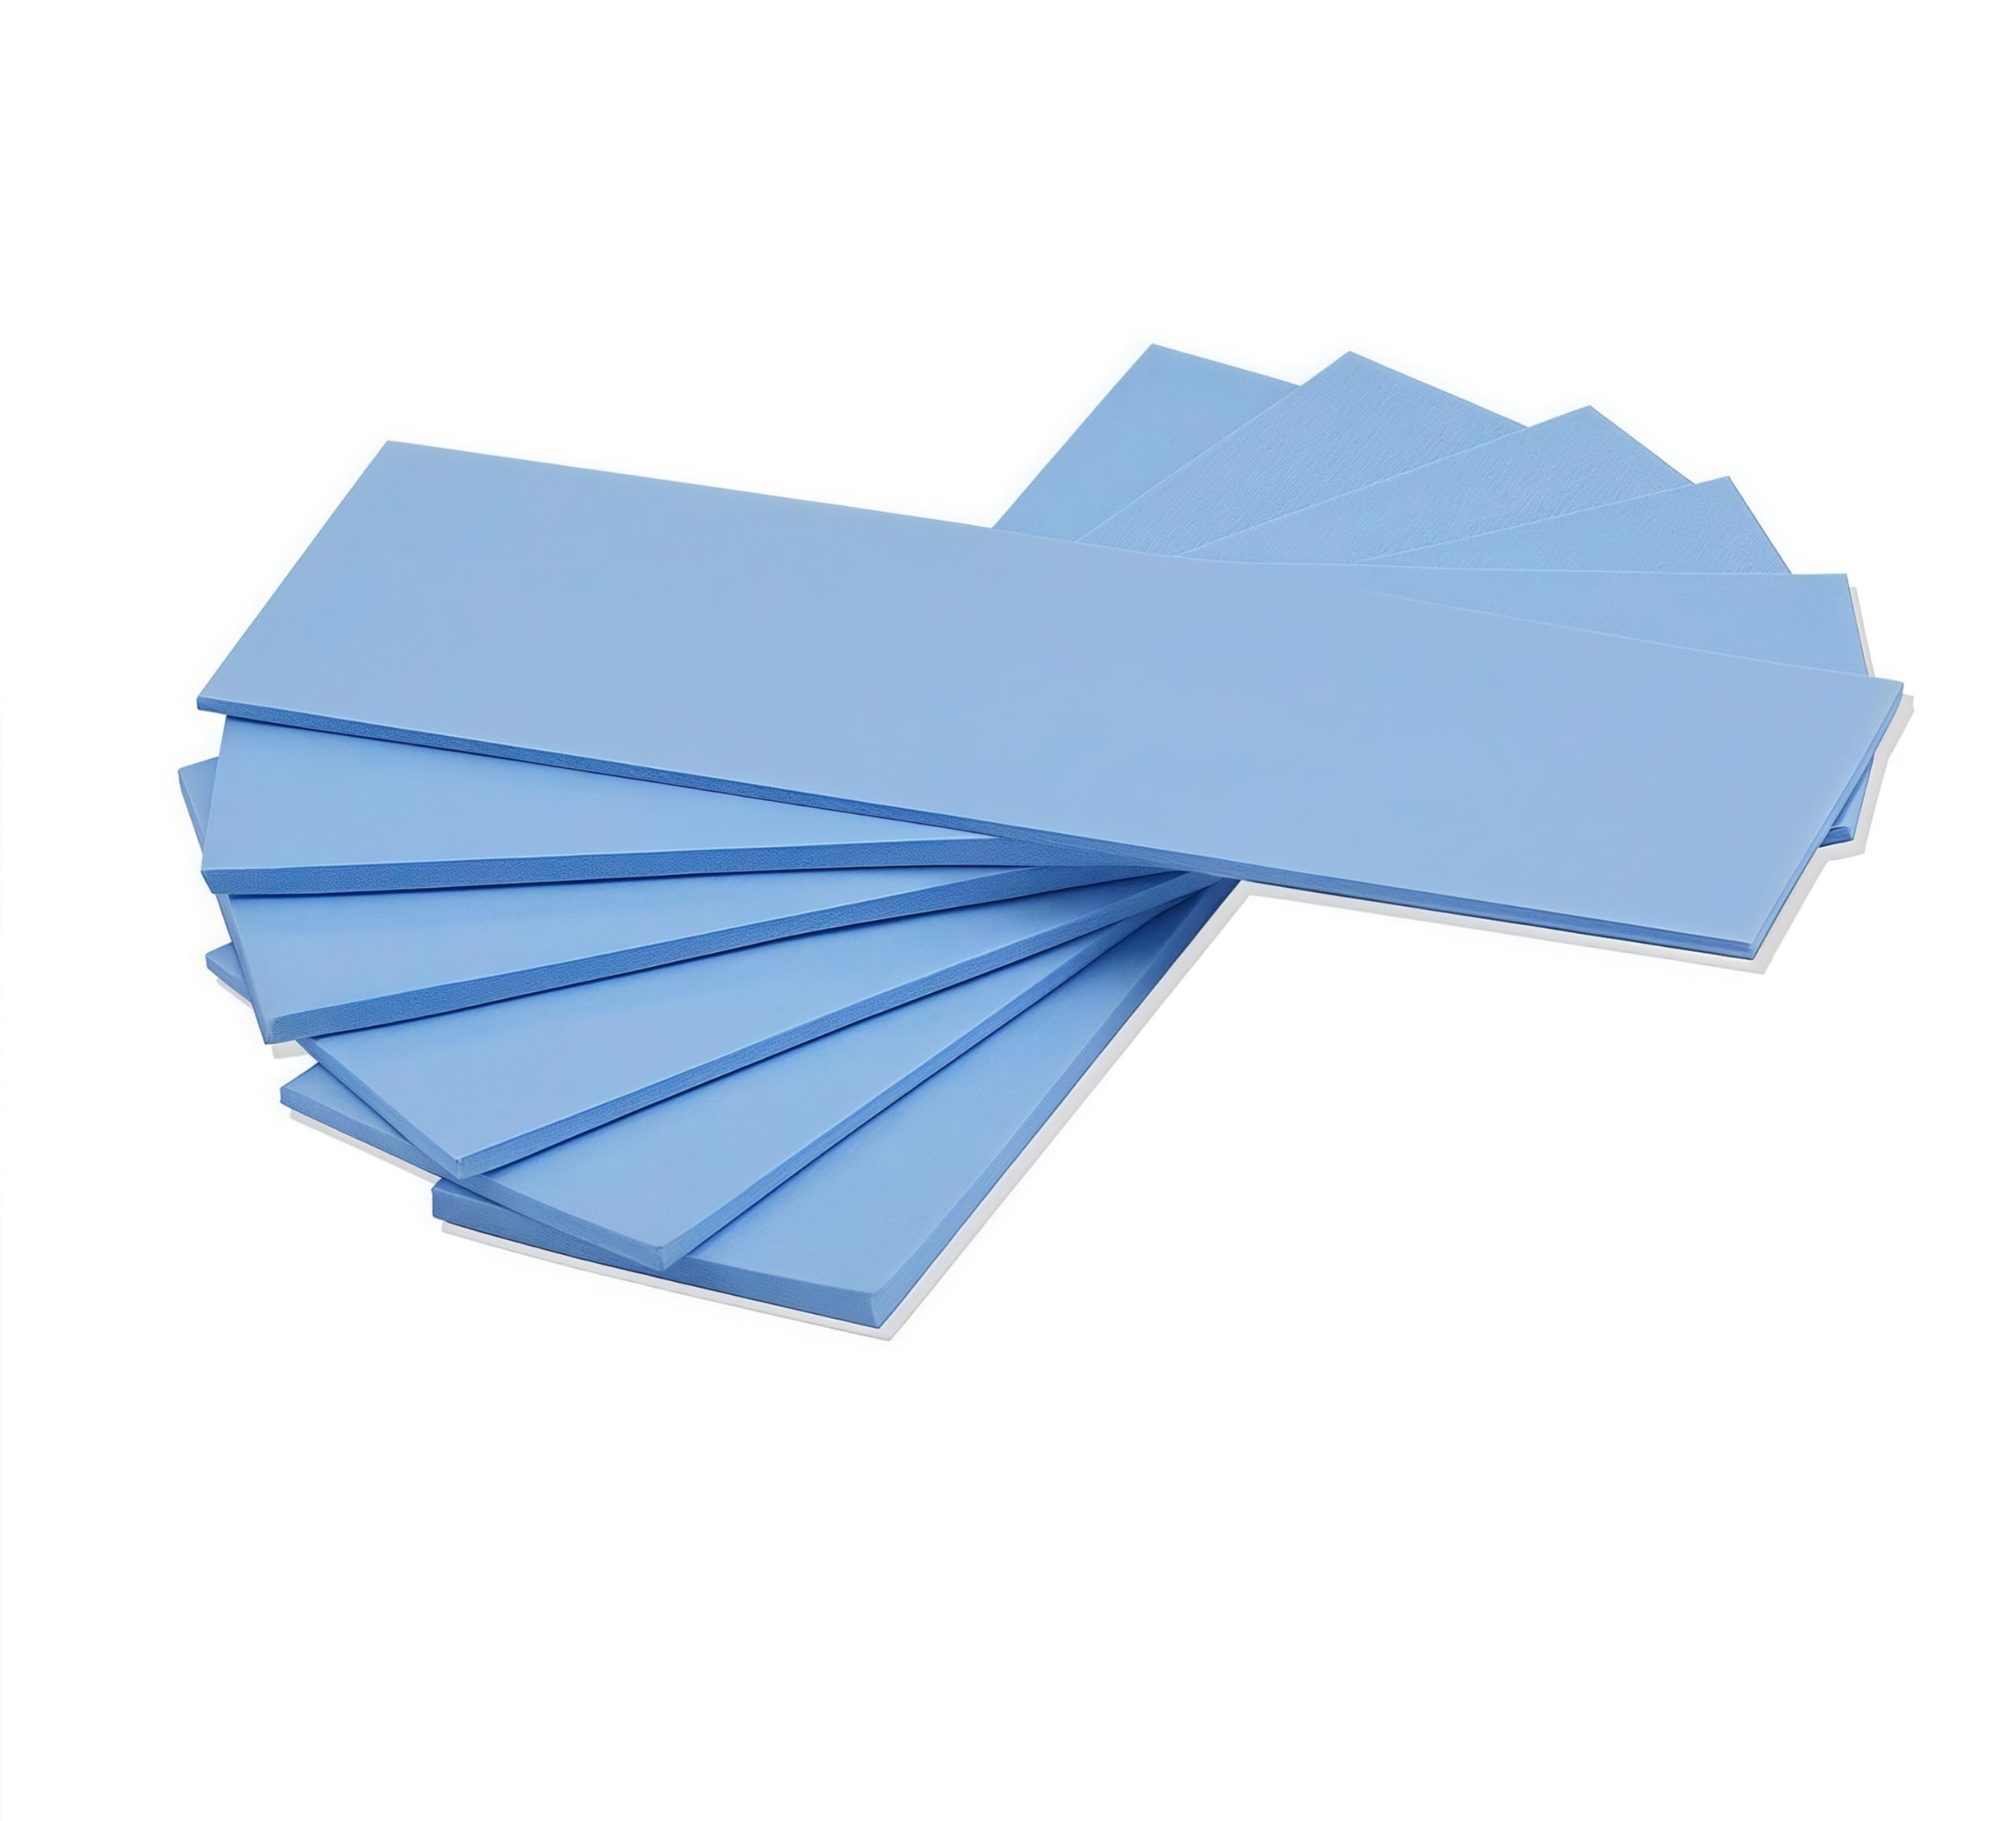
Spec: Item Type: For Steam Deck SSD Heatsink Thermal Pad Material: Copper, Silicone Heat Dissipation Copper Sheet Size: Approx. 26 x 23 x 0.5mm / 1.02 x 0.91 x 0.02in Compatible Brands: For Steam Deck, For ROG ALL Applicable Hard Disk: M.2 2230 NVME SSD How to Use: Hard Disk Cooling Installation Tutorial: 1. Turn off the for STEAM DECK. 2. Remove the eight screws on the back of the for STEAM DECK. 3. Pry off the rear cover. (1) Insert a tab along the edge of the right‑hand handle into the gap between the back cover and the front housing. 4. Remove the protective plate. (1) Use a screwdriver to unscrew the three screws securing the shield, one 3.4mm / 0.13in screw and two 3.7mm / 0.15in screws. (2) Remove the screws and detach the shield. 5. Remove the SSD. (1) Use a screwdriver to unscrew the screws securing the SSD. (2) Remove the fixing screws and pull out the hard disk. 6. Install the heat sink (1) Peel off the heat sink protective film. (2) Tear off the protective film of the thermal paste and stick the thermal paste on the surface of the hard disk particles as shown in the picture. (3) Align the heat sink with the hard disk and press it into the thermal slot. 7. Install the SSD. Reinsert the SSD with the heat sink installed into the slot and tighten the screws PackageList: 1 x Copper Heat Sink 2 x Phase Change Thermal Pad 3 x Silicon Thermal Pad 1 x Screwdriver 1 x Open Pry Bar 1 x Triangle Pry Tool 18 x Screw 1 x Storage Box
Customer reviews
10 Trustpilot reviews total, with 2 shown at a time.
I wrote to Bigamart's customer support and they accompanied the process of reshipping the item until it finally arrived. I felt a genuine effort to solve the problem till it was finally solved.
The package was here in Australia from England in a few days — so quick! Something was missing and they refunded it straight away. Pretty happy with these guys.
You might also like