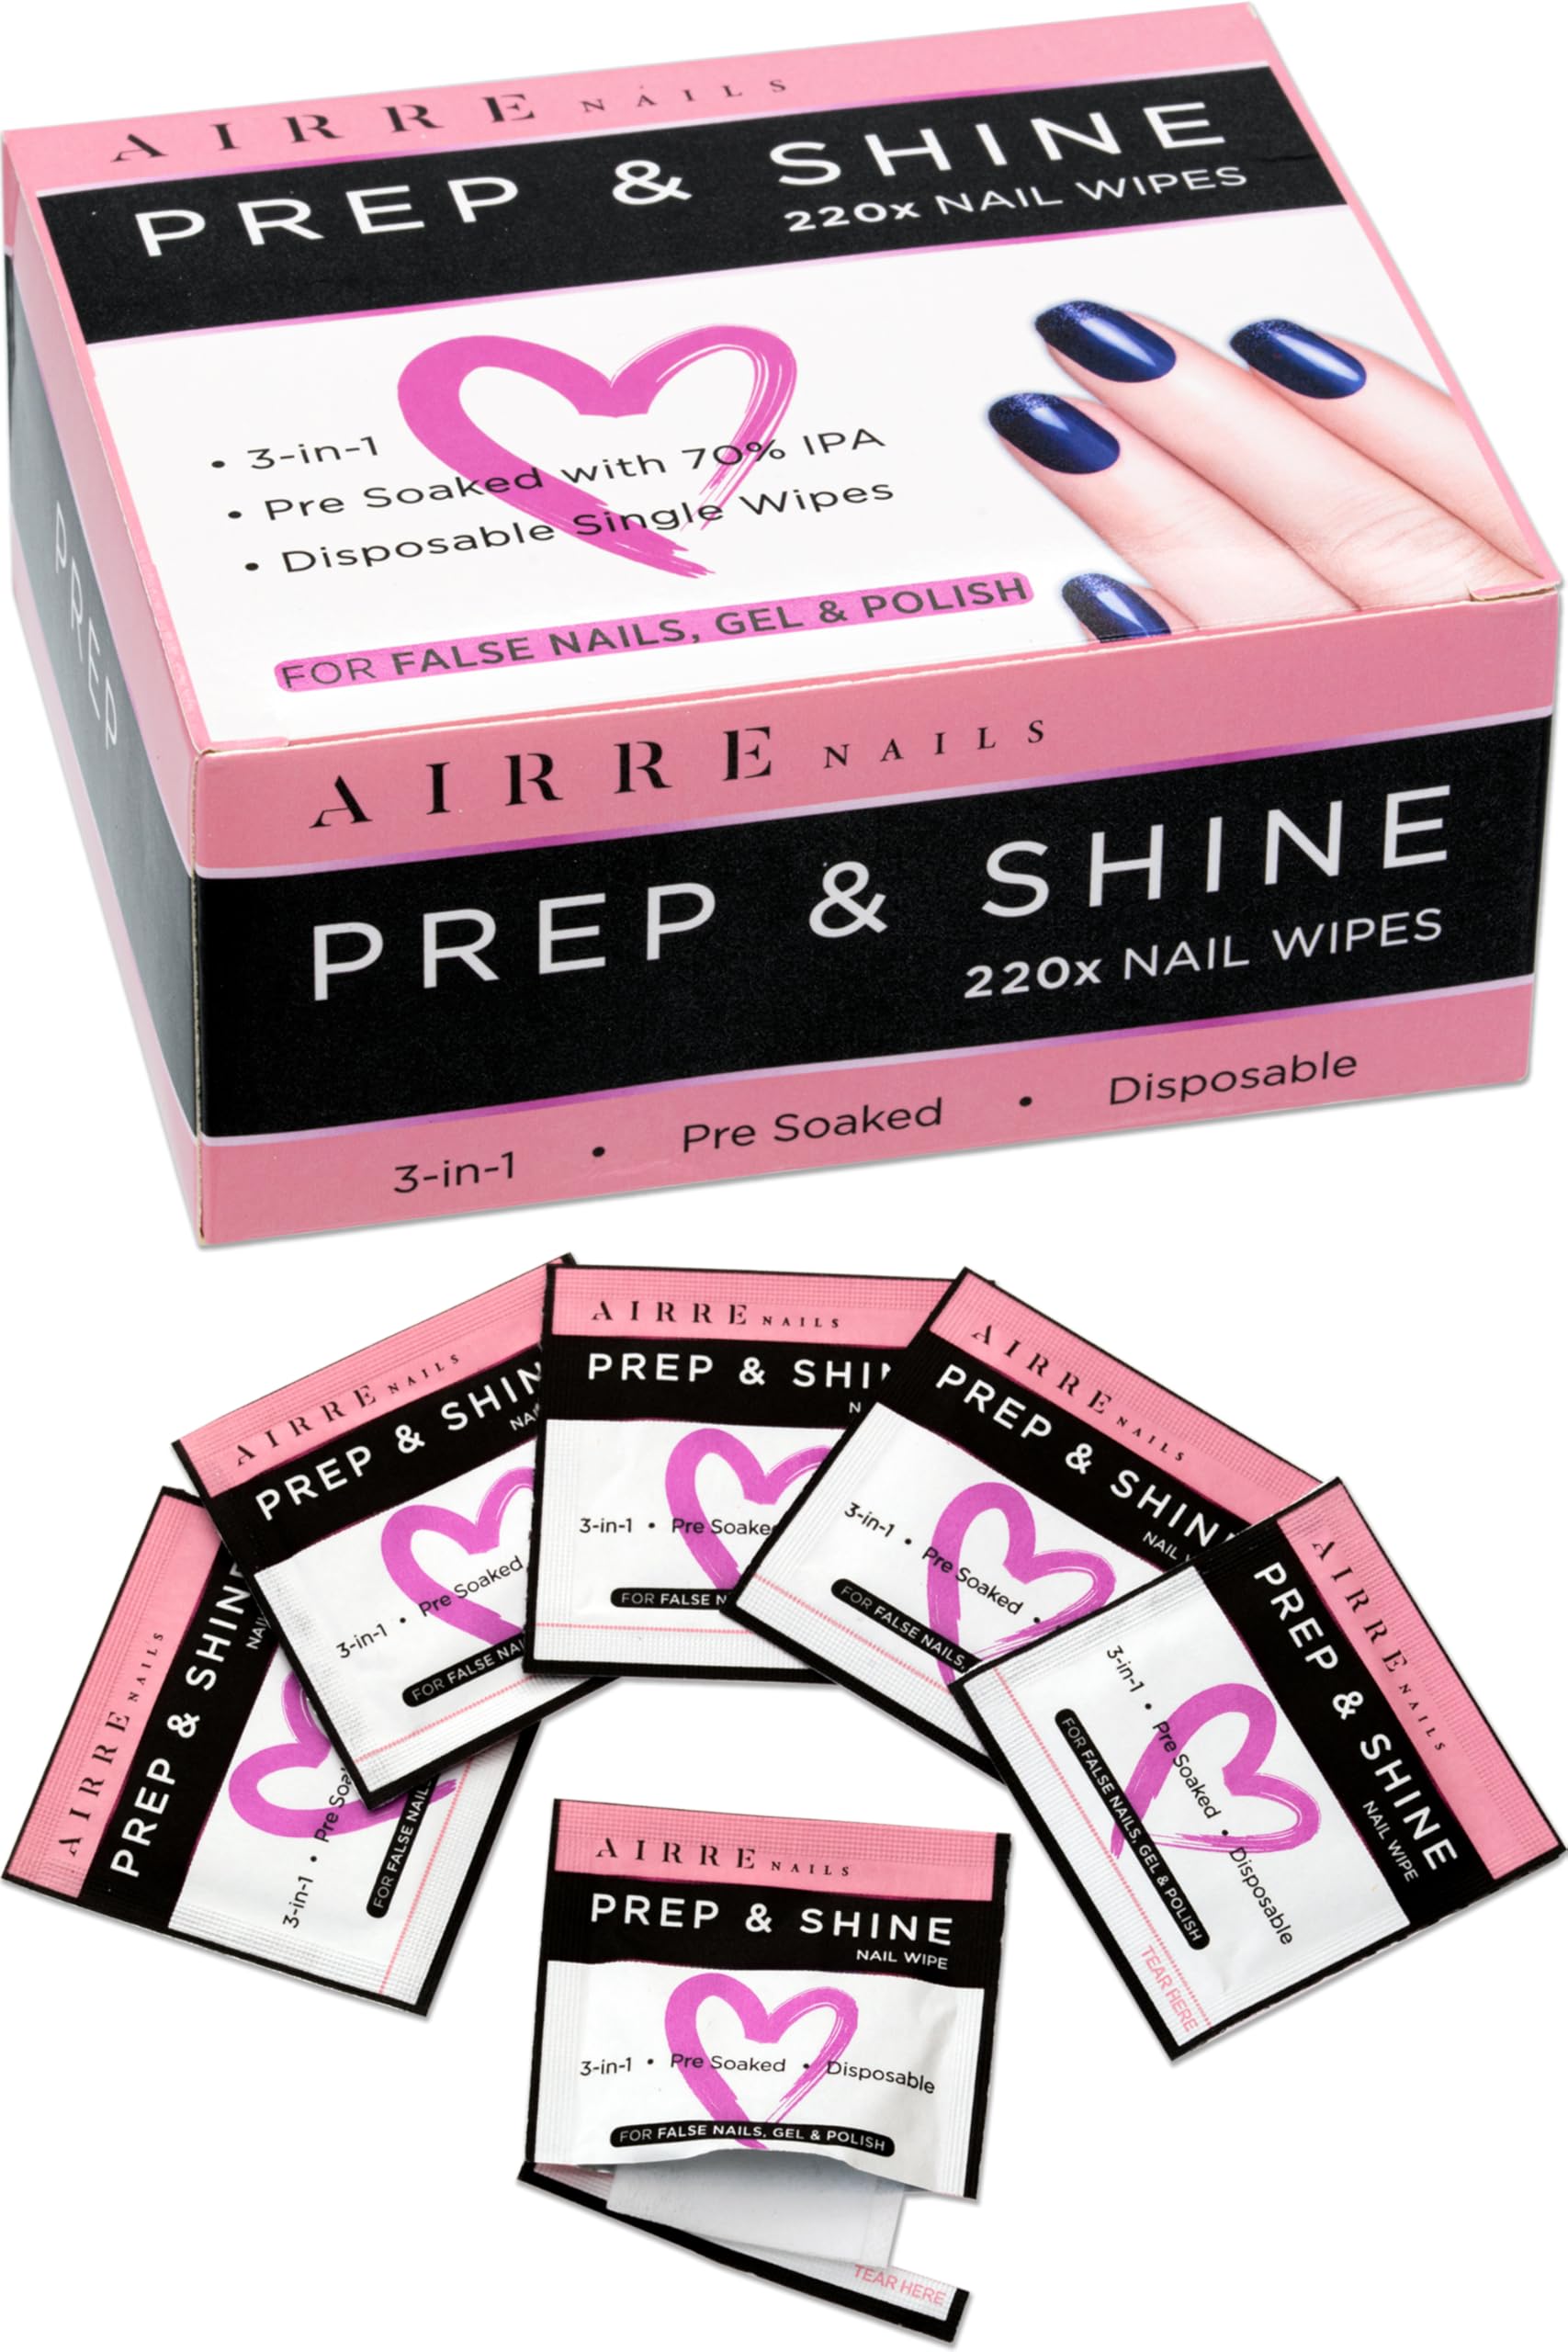
AIRRE NAILS
✓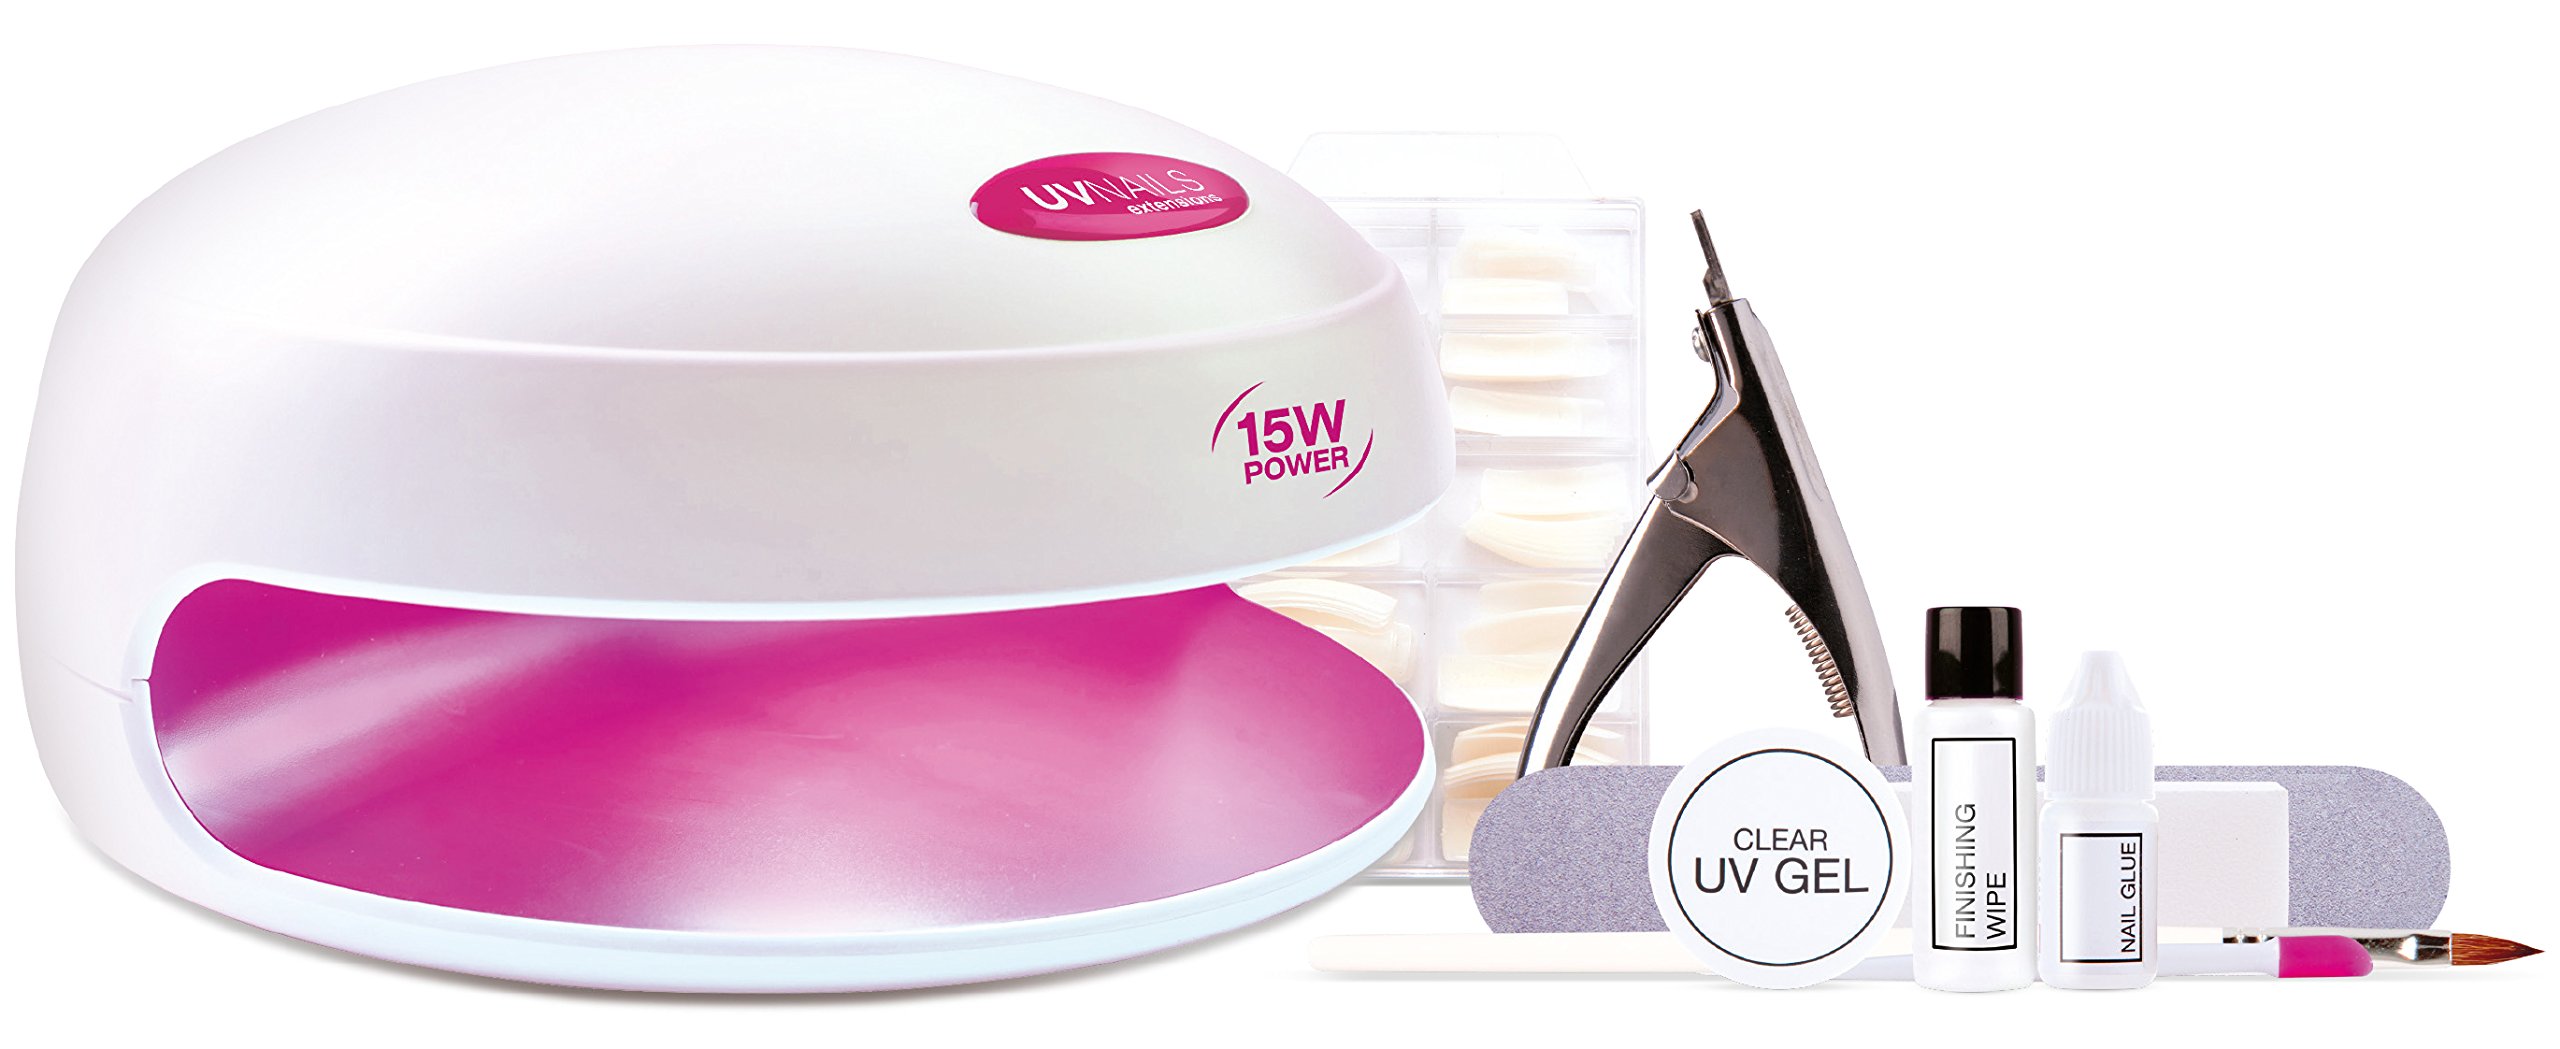
Know your nails For strong, beautiful nails that last and last Rio UV Nails Extensions uses specially formulated gel which reacts with UV light to create very strong, natural looking nail extensions, while your natural nails grow freely underneath. Rio’s UV gel and UV lamp can be used without extension tips to create a strong protective layer, promoting longer and more durable nails that won’t split or peel. The high gloss finish also prolongs the life of the polish for less chipping, so with the right maintenance and aftercare, UV Nails Extensions can last for months. Preparing extension tips Choose a tip with the best fit to the natural nail shape. Note, the ‘C’ curve of the tip must be as near a perfect fit as possible to your natural ‘C’ curve (the arch of your nail). The same principles and instructions apply to the preparation and treatment of your toenails. Before you start, familiarise yourself with the different parts of your nails. Preparing extension tips view larger 1. Cut and file the free edge of the natural nail to a fairly uniform length and shape with a grit file. We recommend approximately 3 mm. Always file in one direction from outside to centre of nail. 2. Select a tip for each nail that fits neatly against the free edge of your existing natural nail tip end. If necessary, choose a larger tip rather than a smaller one and file down the sides to fit. 3. Clip the base of each tip using the clippers so the stop point covers a maximum of one third of your natural nail. 4. Pre-blend the edge with a grit file, so that the well area is thin and tapers to the end. File horizontal to the nail extension. Repeat for all nails. Preparing natural nails view larger 1. Remove jewellery. Wash hands with a mild soap and dry thoroughly. Gently push back the cuticles with the hoof stick and remove ALL residual skin cells from the nail plate surface. Skin cells contain oils and moisture which will prevent proper adhesion, this is the most common cause of gel nails lifting. 2. Lightly buff over the nail surface with the white sanding block to remove surface shine. Pay particular attention to the cuticle and sides of the nail to remove any residual skin cells. 3. Brush away dust using a tissue or small brush, take care to remove all dust particles. 4. Now wipe over surface using finishing wipe to remove all oils and dehydrate the nail plate. Do NOT touch the nail surface after this stage as your fingers will transfer natural oils from the skin onto the nail. Applying extension tips view larger 1. Apply a thin line of nail glue onto the well of the tip. Tap the tip sharply on a tissue to remove any excess glue. 2. Hold the tip at an angle to the nail plate, then bring the tip up to the free edge. Tilt and slide the nail tip onto the nail plate so that the natural free edge sits snugly against the stop point of the tip. 3. Press and hold the tip in position for about 5 seconds or until an airtight bond occurs. Ensure the bonded area beneath the nail extension is sealed and contains no gaps. This will prevent the trapping of water and dirt. 4. Apply all five tips in this manner then cut and file to the required length. The nails are only attached by glue at this point, so file carefully. If you are not used to having long nails, cut the tips to a sensible length, as knocking and banging the nails will weaken them. Applying UV gel view larger 1. Using the gel brush, scoop a small amount of gel from the tub, keeping one side of the brush clean by wiping it on the edge of the tub. 2. Apply a thin coat of the gel in the same manner as you would nail polish. Start 1mm from the cuticle and work towards the free edge. Important: Avoid getting gel on skin or cuticles. If this happens, remove immediately using a cotton bud dipped in finishing wipe. 3. Finish off by brushing across the free edge of the extension tip. Do NOT apply too much pressure, as the brush will fan, leaving brush marks. Repeat this process for all the nails. You are now ready for UV curing. UV nail curing view larger 1. Turn on your UV lamp - wait for one minute to allow the UV to reach maximum strength. Place your nails under the UV bulb to cure the gel for three minutes. 2. The top surface of gel ALWAYS appears tacky after curing, this is completely normal and should NOT be removed between layers. Repeat the application of UV gel and curing two more times. 3. Once you have applied and cured three layers of UV gel check each nail for ‘craters’ (small indentations or ridges in the UV gel). If ‘craters’ appear, apply another thin layer of UV gel and cure the nails again. Do NOT apply too much pressure, as the brush will fan, leaving brush marks. Repeat this process for all the nails. You are now ready for UV curing. 4. Use the finishing wipe on a lint free wipe to gently remove the tacky top surface, revealing the hardened gel underneath. Always wipe away from the cuticle and use a fresh wipe for each nail to avoid getting the tacky gel onto the skin
Customer reviews
10 Trustpilot reviews total, with 2 shown at a time.
I wrote to Bigamart's customer support and they accompanied the process of reshipping the item until it finally arrived. I felt a genuine effort to solve the problem till it was finally solved.
The package was here in Australia from England in a few days — so quick! Something was missing and they refunded it straight away. Pretty happy with these guys.
You might also like