MSI
✓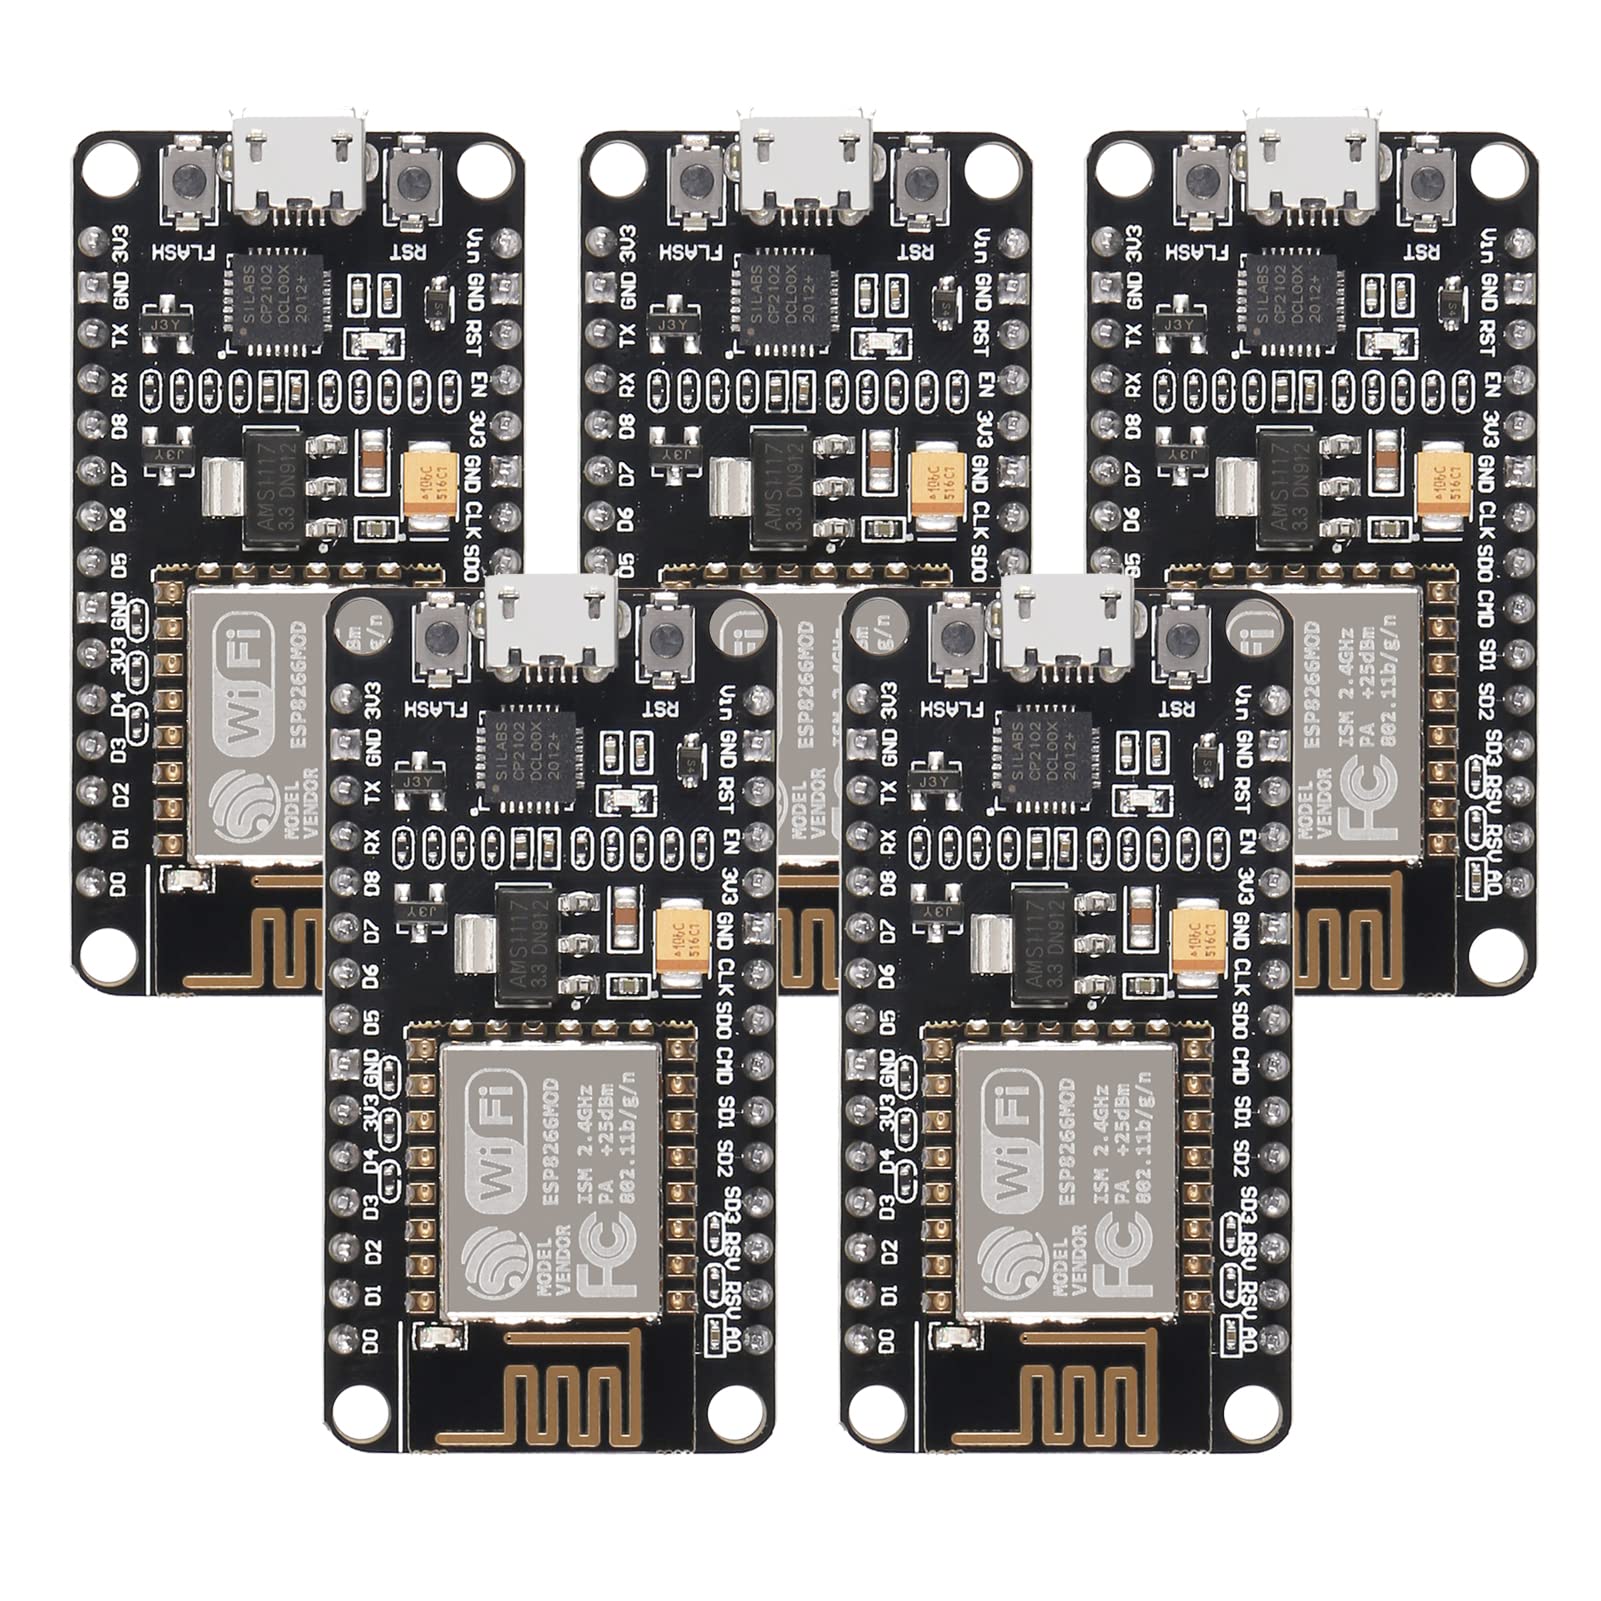
ESP8266 is a highly integrated chip designed for the needs of a new connected world.It offers a complete and self-contained Wi-Fi networking solution, allowing it to either host the application or to offload all Wi-Fi networking functions from another application processor. The ESP8266 support four different SPI flash access modes: DIO, DOUT, QIO & QOUT. These can be set via the --flash_mode option of esptool.py write_flash. More information about it,refer to: https://github.com/espressif/esptool/wiki/SPI-Flash-Modes. Description: Instruction & Steps of How to use: 1. Download the Arduino IDE, the latest version. 2. Install the IDE 3. Set up your Arduino IDE as: Go to File->Preferences and copy the URL below to get the ESP board manager extensions: http://arduino.esp8266.com/stable/package_esp8266com_index.json Placing the http:// before the URL lets the Arduino IDE use it...otherwise it gives you a protocol error. 4. Go to Tools > Board > Board Manager> Type "esp8266" and download the Community esp8266 and install. 5. Set up your chip as: Tools -> Board -> NodeMCU 1.0 (ESP-12E Module) Tools -> Flash Size -> 4M (3M SPIFFS) Tools -> CPU Frequency -> 80 Mhz Tools -> Upload Speed -> 921600 Tools-->Port--> (whatever it is) 6. Download and run the 32 bit flasher exe at Github(Search for nodemcu/nodemcu-flasher/tree/master/ at Github) github.com/nodemcu/nodemcu-flasher/tree/master/Win32/Release Or download and run the 64 bit flasher exe at: github.com/nodemcu/nodemcu-flasher/tree/master/Win64/Release 7. In Arduino IDE, look for the old fashioned Blink program. Load, compile and upload. 8. Go to FILE> EXAMPLES> ESP8266> BLINK, it will start blinking. Package Including: 5 x ESP8266 ESP-12E Development Board
Customer reviews
10 Trustpilot reviews total, with 2 shown at a time.
I wrote to Bigamart's customer support and they accompanied the process of reshipping the item until it finally arrived. I felt a genuine effort to solve the problem till it was finally solved.
The package was here in Australia from England in a few days — so quick! Something was missing and they refunded it straight away. Pretty happy with these guys.
You might also like